Here's the "Scoop"!

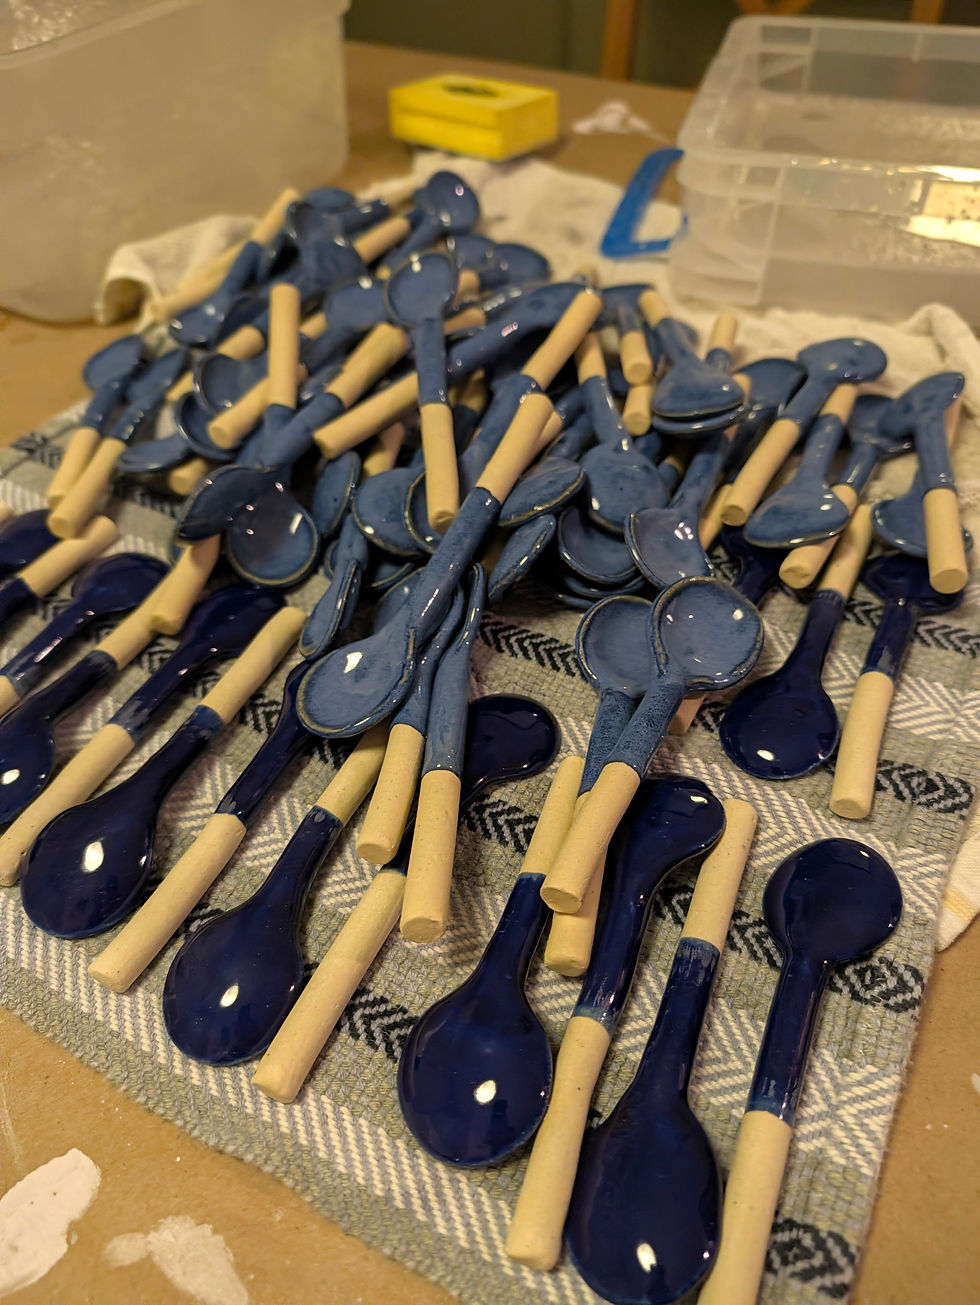
Around 9:00 PM on a Tuesday night while covered in a lilac-colored glaze, I looked around my kitchen table in total disarray. The craft paper covering the table was full of notes hastily scribbled, splats of glaze polka dotted the boring brown paper, and bits of clay were sprinkled about. In that moment, I sat there wondering, "How did I get myself into this?".
----
Early August 2026, I was contacted by the South Carolina Department of Parks, Recreation & Tourism. They looking for a ceramic artist to create 125 spoons as gifts for journalists, media, and attendees of SC in The City, an interactive pop-up experience celebrating South Carolina, running from Friday, September 25, 2026, to Sunday, September 27, 2026, at Grand Central Terminal in New York City. While I had made plenty of scoops before, such as those you may use to scoop out your coffee in the morning or add a healthy amount of sugar with, I had not yet attempted spoons. This would be a new project for me, so I got to work brainstorming a process.
How do you make a spoon?
As with anything in ceramics, there are a million ways to approach these kinds of projects. Here is what I found worked best for me.
Roll out a fairly thin slab of clay.
Using a small, circular cookie cutter, cut circles out of the flattened clay and set aside.
For the spoon heads: Lay out a piece of furniture foam or thick craft foam and place a circle of clay on top of it. Using a wet finger, press lightly into the clay while making a circular motion starting from the center and moving outwards. Providing more pressure will create a more concave spoon head. Repeat for all circles and set aside under a covering.
For the spoon handles: Use an extruder to make long cylendrical coils. You may roll these by and and experiment with the width of the coil for the dimensions you prefer. Once you have the coils, you may use a ruler to measure them for consistency.
Connecting the handles to the spoon head: Using a wooden knife, split the end of the spoon handle in half around .5 inches or so. Slide the spoon head into the crevas made with the wooden knife, and with a finger, begin to blend the spoon head into the handle. At this stage, you may also want to add a coil around the joint for extra support, depending on how delicate the spoon head and handle are.
Firing the spoons

Firing proved to be a unique challenge in and of itself. When firing things like spoons, you must consider the design and how to avoid the glaze fusing with parts of the kiln. One option would be to create holes in the handles to hang the spoons from in the kiln during glaze firing. My clients preferred the spoon's design without the hole, so here's how I approached this aspect of the process:
The spoons I was creating would be fired standing straight up. With this in mind, I had to create some stands that would hold the spoons. This was accomplished by rolling out flat slabs of clay and cutting them so that they would each hold around 10 spoons.

The slabs were then draped over a material that would hold them steady as they dried (bricks, books, etc.). The image above illustrates how the stands were initially created. They were bisque fired the same time as the spoons. I tried to ensure that the stands would measure around 2" above the base of the spoon handle to help protect them from slumping during the glaze firing.
The image to the right shows the first glaze firing with the spoons in their holders. Care was taken to ensure that the glaze did not dip beneath the holes of the holder and that the spoon heads did not touch one another.
In the end, all 125 spoons were fired successfully and safely delivered to their home. In many ways, I was surprised to not have encountered many issues with this project, especially considering it was my first time creating them! Shockingly, not a single spoon failed during bisque or glaze firing - a pretty good track record, if you're asking me!
I also must say that I have a very special thanks to offer Eva Bradley, a ceramic artist in Columbia, South Carolina, who was there to help me brainstorm and troubleshoot with, as well as use her kiln for all the firings. I am incredibly grateful for her wisdom and patience throughout this project!
Comments